
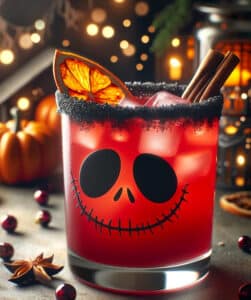
This fiendish delight is a holiday party mixologist’s secret weapon that give a Halloween nod to the Christmas season.
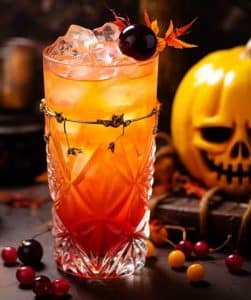
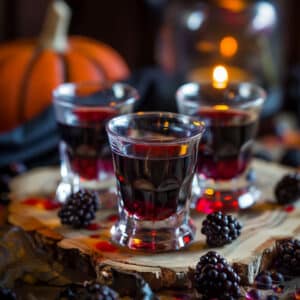
Indulge in the captivating Halloween Vampire Tequila Sunrise, where vibrant layers and a blood-red twist create an alluring, spellbinding sip for Halloween revelry.
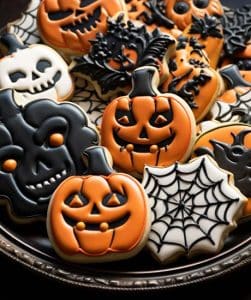
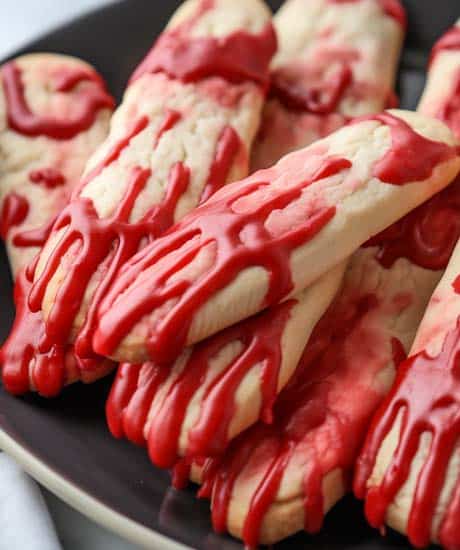
Halloween sugar cookies, with their eerie designs and playful decorations, are an essential element of any proper Halloween celebration. These uniquely crafted treats not only tantalize the taste buds but also serve as edible works of art that capture the spirit of the holiday like no other.
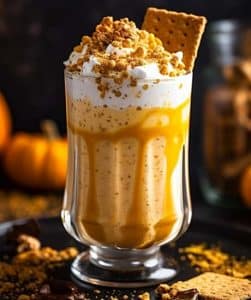
This spooky and delightful pumpkin smoothie is perfect for getting into the Halloween spirit. You can even add a plastic spider or candy eyeballs as a fun garnish for extra creepiness!